Showing posts with label chalk paint tutorials. Show all posts

Wednesday, April 22, 2015

Chalk Paint, How To: Dry Brush Technique and Tutorial

Chalk paint tutorial hopefully will help you start your new chalk paint project, and, well since I'm new to the blogging world you probably don't know much about me yet but one thing you will soon learn is, how much I love French Provincial Furniture or any french furniture. I love chalk painted french pieces especially when they have a lot of detail and you can use dark waxes. My favorite style is Shabby Chic. I am in the process of chalk painting my new French Provincial bedroom suite I bought at an estate sale in my town.  I share with you the steps I took to paint my dresser.
 
      My before pic. I forgot to take one before I started...Oops
    I removed the hardware and started with Coco as my base coat
 I did 3 coats on the drawers. I normally use only 2 but I thought
 it needed a 3rd


I chose Annie Sloan Chalk Paint for this project. Color Coco and Country Grey

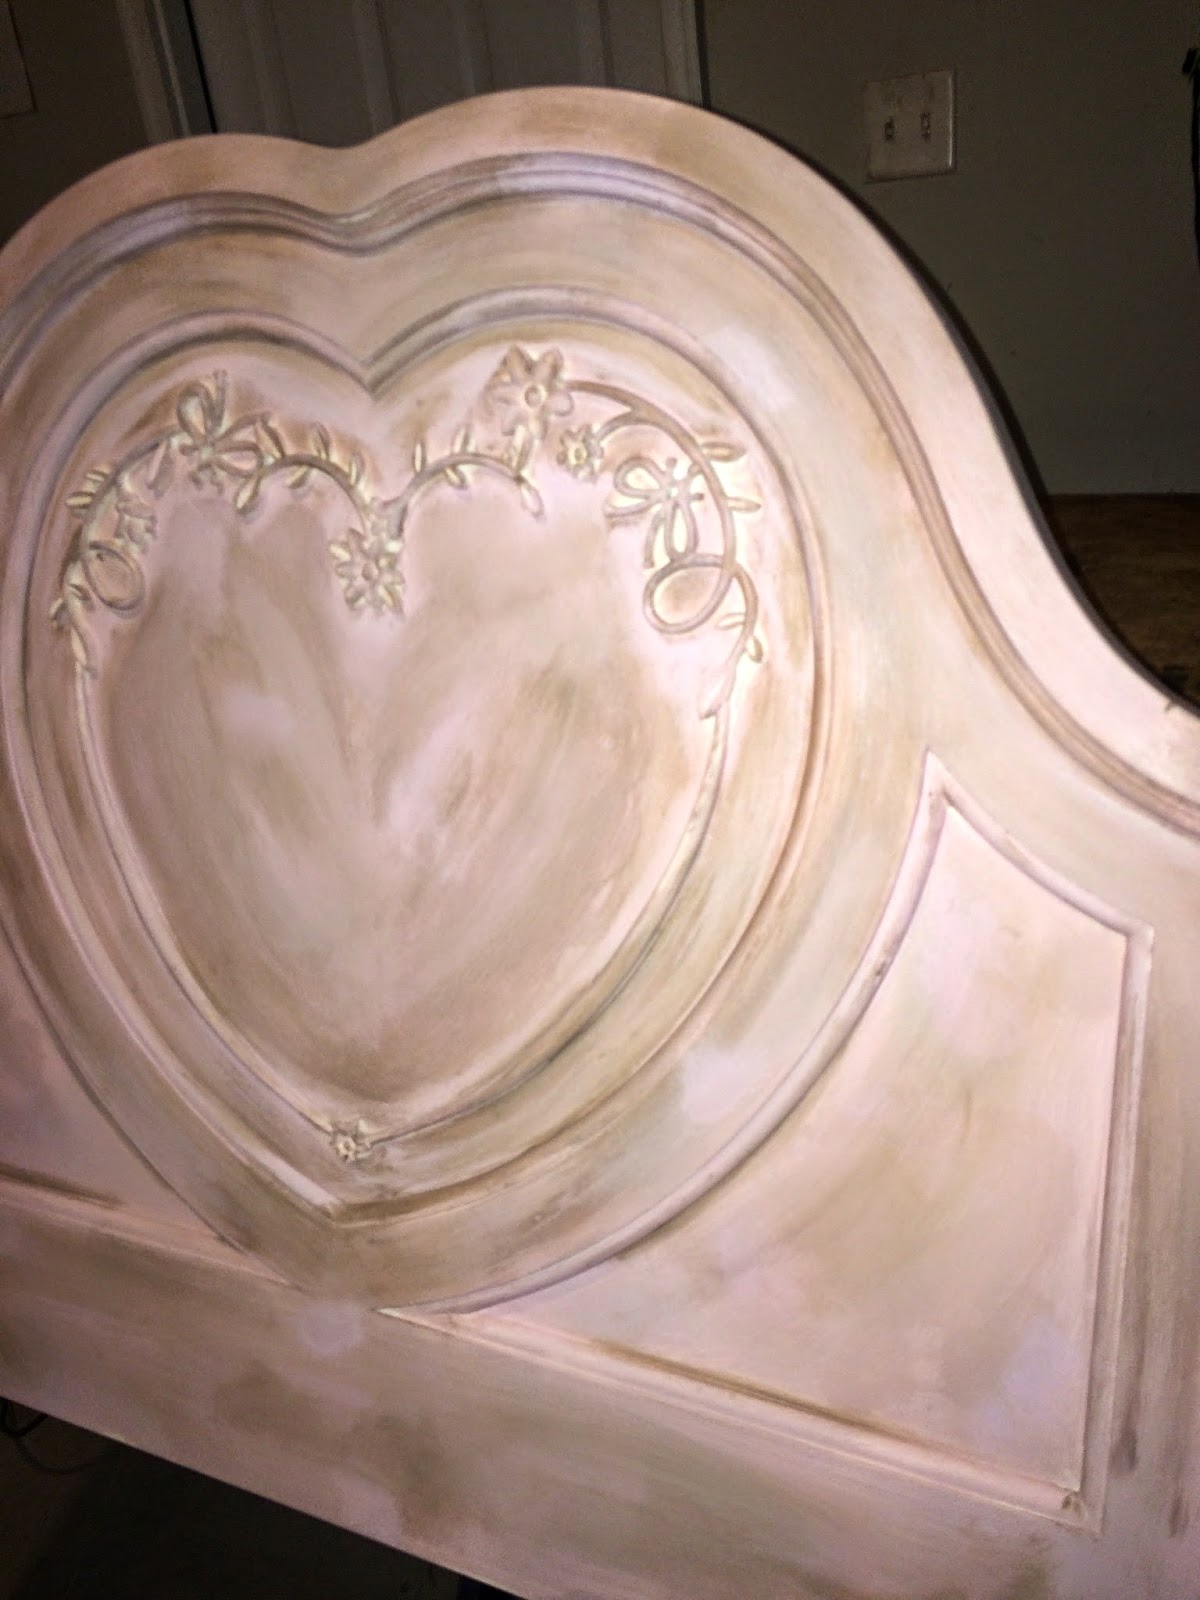
Let me explain a little about the dry bush technique when you are chalk painting. To start off you dab a thick bristled paint brush in the chalk paint just to get it on the very tips of the brush. Next you take a paper plate, or at least that is what i use. Then you brush it off on the paper plate so that the paint is all off of the bristles. Then you take and lightly stroke over the area you are wanting the chalk paint to have the dry brush look. The corners and naturally damaged areas I usually dry brush a little heavier. Playing with the different colors of chalk paint will really help you learn where the dry brushing looks good and where you can make it heavier and more distressed looking. Its all your choice.  thats what I LOVE about chalk paint. You can do so many things with it.
Now the more you do this dry brush technique the more you will get comfortable with the dry brushing. It does not take long to learn so practice and get comfy with it. You will get the hang of it very quickly.

See more about dry brushing http://somethingtochalkabout.blogspot.com/2015/04/diy-chalk-finish-paint.html
See my layering techniques page. http://somethingtochalkabout.blogspot.com/p/why-use-so-many-colors-to-paint-white.html
or my Pinterest board Chalk paint tutorials https://www.pinterest.com/brookelynpd/chalkpaint-titorials/


Then i finished the base of the dresser 
dry brushed it,

Her is the finished piece! Beautiful


I will add more later of the whole bedroom which is being
completely redecorated.

</td>

Thursday, April 16, 2015

Chalk Paint Ideas and Inspiration …. Photo Gallery


Chalk Paint Ideas and Inspiration Photo Gallery

I know you love looking for chalk paint ideas and inspiring chalk paint furniture pieces…. Yummy, I know I do. 

So when people like you decide to chalk paint that piece of furniture that has been sitting there for months. You know that piece you just couldn't quite make up your mind on the technique to use or do you want to distress or not, do I want to use this color that color or a color mix of chalk paint, etc. Decisions, decisions.  You either go looking for a piece that inspires you or you finally have your own creative ideas you just dreamed up. Either way is fine because no piece will ever be exactly the same.

Today I am going to share with you some chalk painted pieces that I have either painted myself, I am currently working on and some from friends of mine that have given me permission to share.

You can actually find some of these chalk painted pieces for sale in a little store or actually a BIG store in Savannah, GA. Two Woman and a Warehouse. Have you heard of them?  They actually have 2 stores in Savannah one of them being a 7,000 ft. warehouse.  It s a fabulous place and I actually am planning on writing a whole blog post about them.
I also have a few pieces that I am not quite happy with and really need some expert advice on. I may just share those here as swell and see if some of you can give me your opinions on whether you like it or what I need to do different. There are a few I just can't get quite right. Please don't shame me for some of the pictures. Some are not staged and are still in my shop that are not complete.


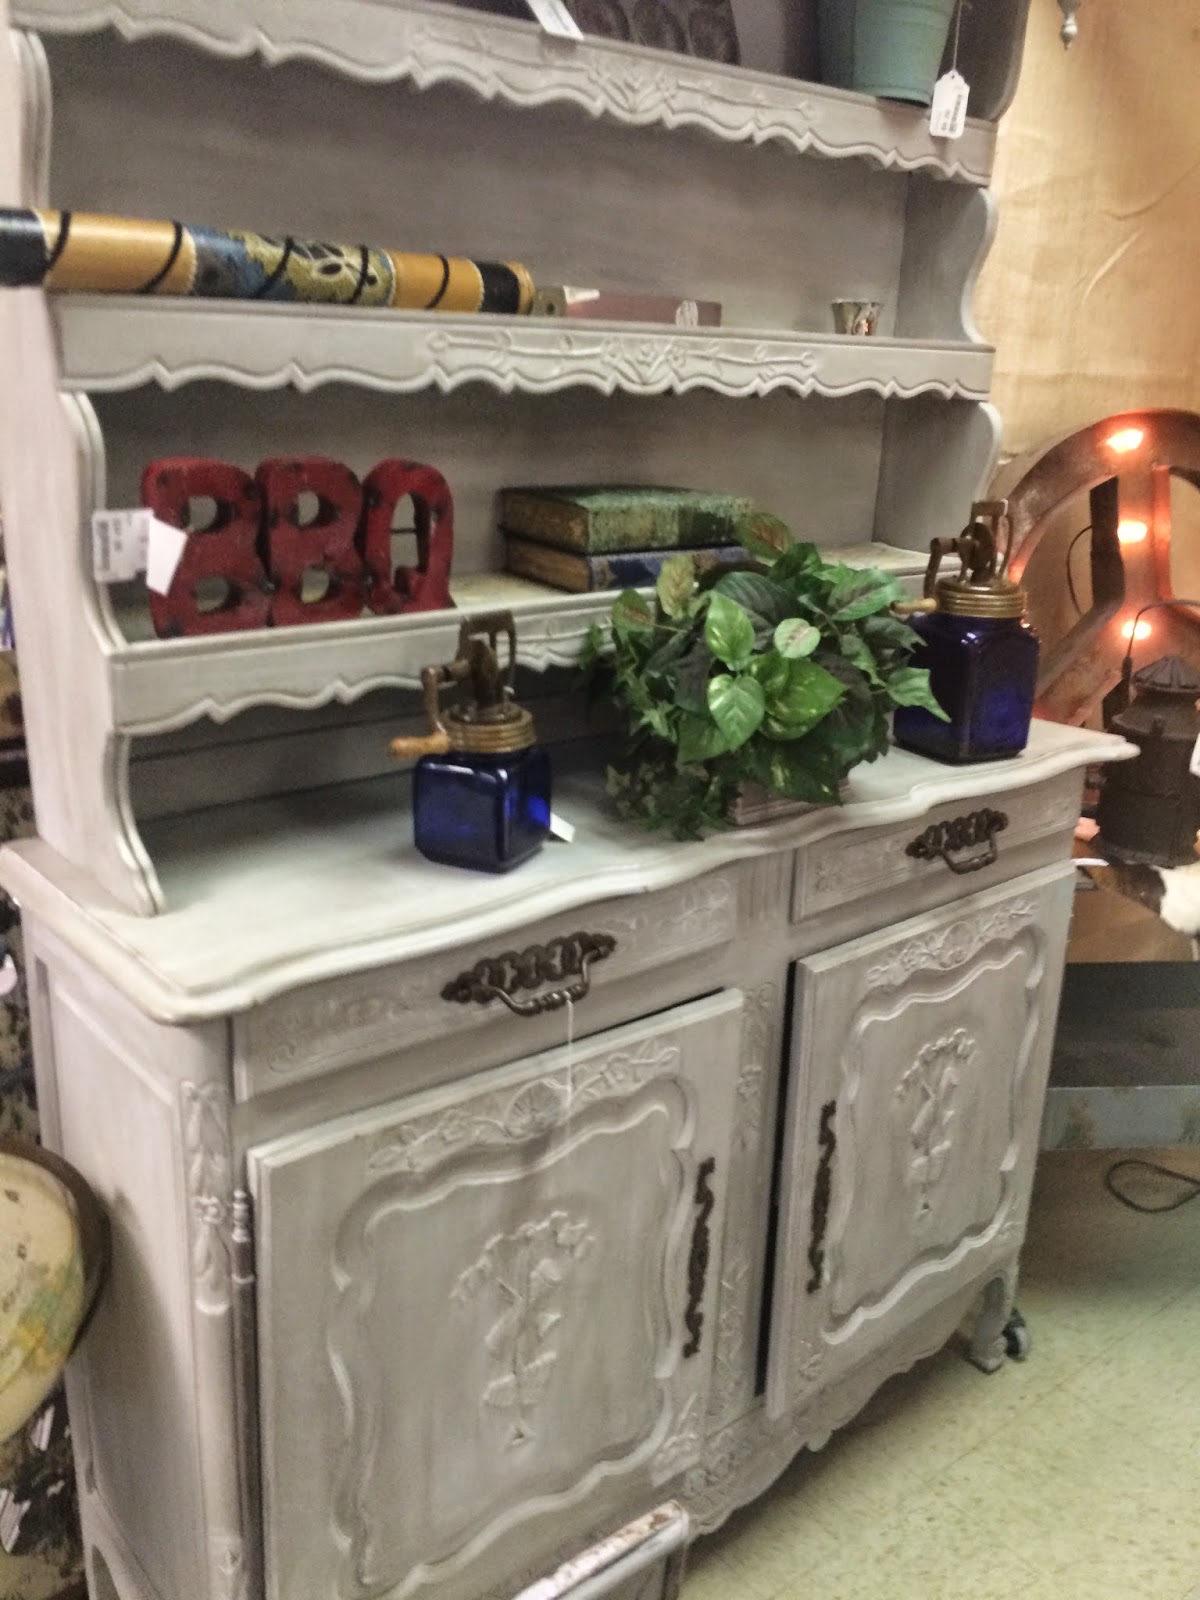
SO I decided to wait on the ones a I am having problems with. I will post them very soon. Maybe you can get some inspiration from some of these. Please tell me what you think or ask any questions you have. Most of these pieces were painted with Maison Blanche Chalk Paints or Annie Sloan Chalk Paint and Wax

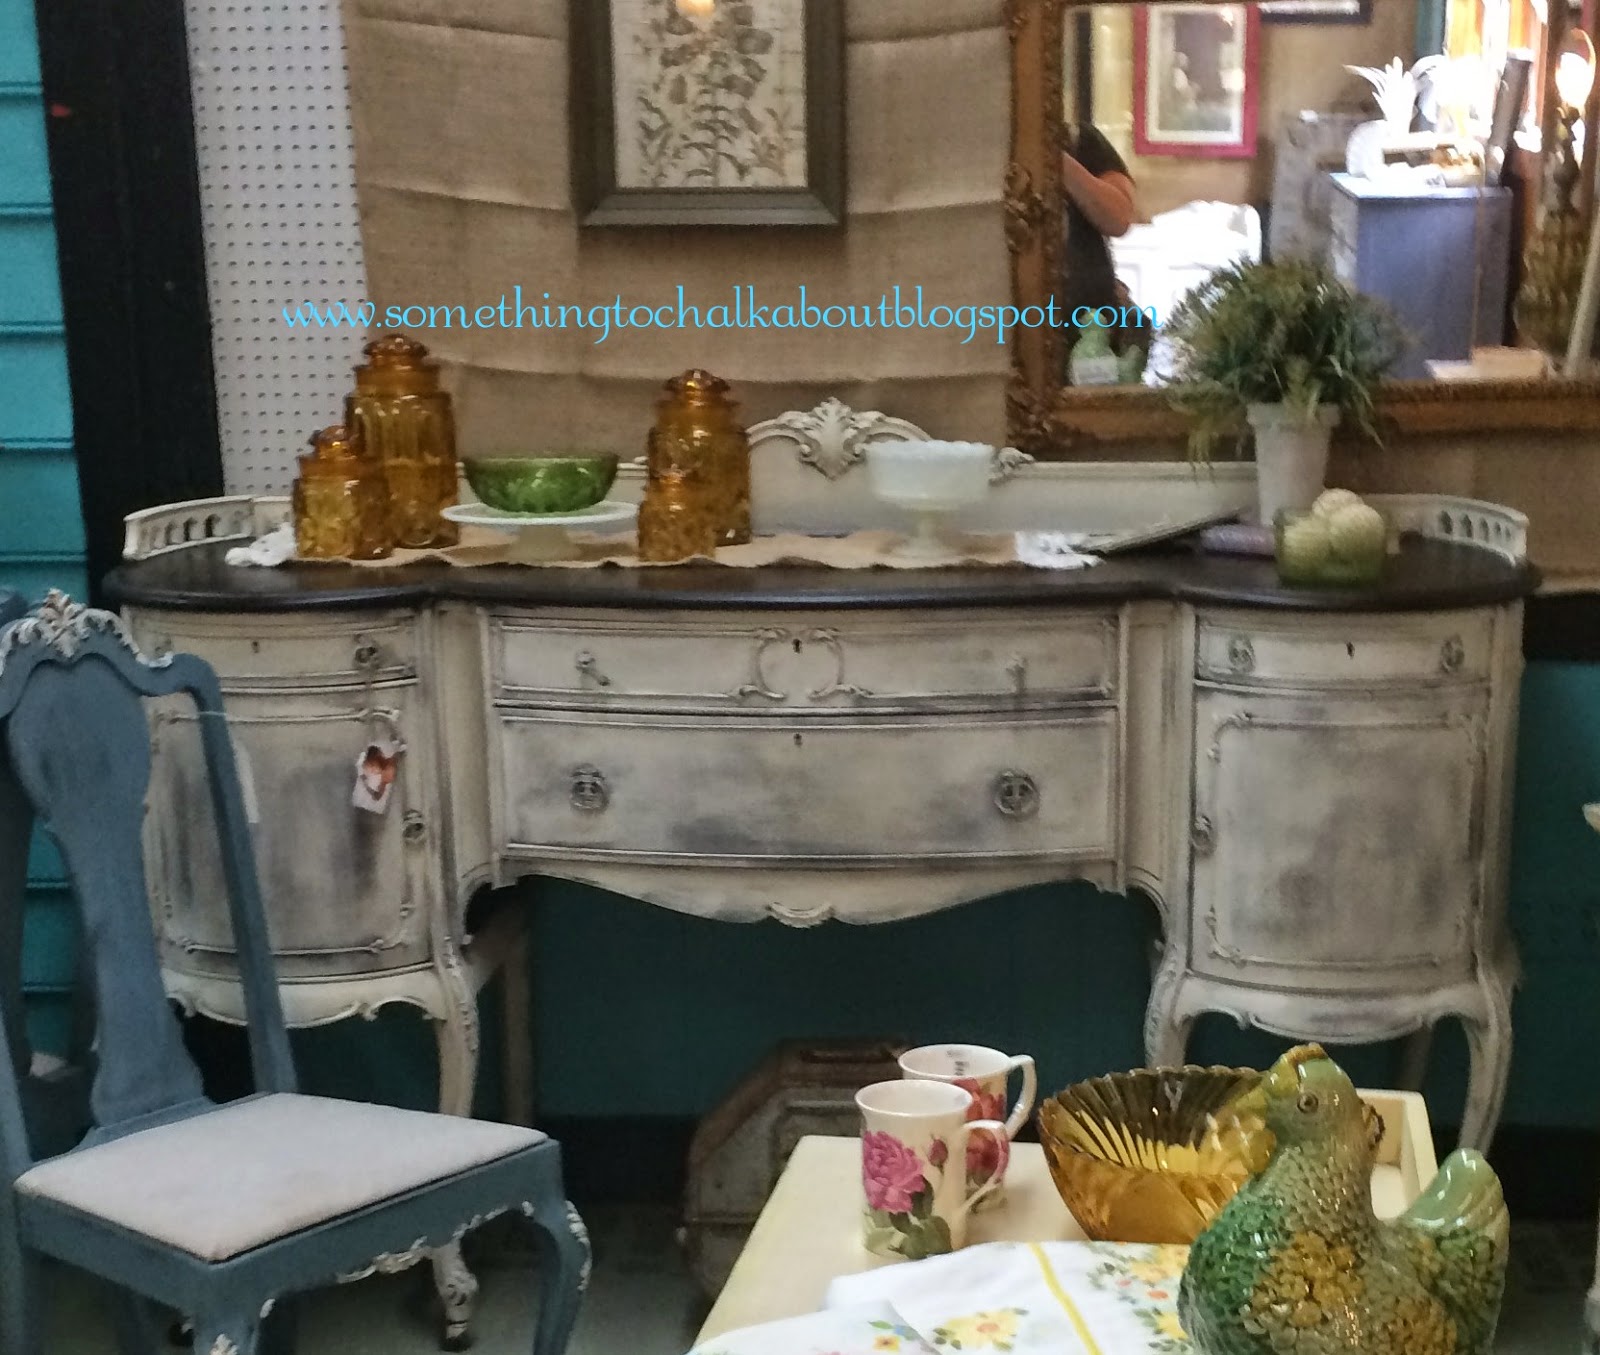
Ok here is one I have been trying to perfect and it may just be the piece of furniture that i used as to why I am not liking it. The furniture may not have that antique old feel like I am going for with this technique. I really want it to look kinda faded and dirty. PLEASE help on what I did wrong.

It looks ok from afar but when you get up close Im not happy with it. Here's a close up.


Saturday, April 4, 2015

4 Chalk Painting Steps to achieve the Chunky Chipped off Look aka Layering Technique

Are you having trouble obtaining that beautiful old worn  and chipped off paint look?  Ah, yes the layered look of chalk painting, also called the CHUNKY look or Chipped off paint look. it's one of my favorites if done correctly but in my opinion one of the hardest to achieve. but don't let me scare you away buy saying that its still not hard to achieve it and you don't have to be a chalk paint pro to do so. just a little practice and you will get it. 


Layering Chalk Pained
Yeah I know it looks easy but you have to really learn how to be creative and visualize when layering chalk paint. You will need several contrasting chalk paint colors when you have made your decision that layering is what you are going for. You may also need scraper, sandpaper, and a putty knife, depending on what you're going for and what level of a painter you are.

Why use so many colors? 

In order to create a finish that looks like ones you see on antiques and vintage furniture, you must create a depth and texture that extremely hard with one color of paint. If you look closely at the picture above, which I got off of pinterest , you can really see the layers of paint. You will see several Annie Sloan colors that contribute to the depth.  It looks like it has been hand painted many times and over the years and through use and age the paint has been worn off in various areas. Its lack of uniformity and imperfectness give it character. Combining various shades and tints in layers allows you to create a vintage looking finish.

So FIrst things first,


  1. I always just start painting with all of my chalk paint color choices in no set order. I  just paint a little here a little there and then some on top of each other. ( after the first coat is dry) Remember no certain pattern. 
  2. Then I start a little dry brushing here and there with all the colors. You at least want 3, really more if you really want  that depth.
  3. after you are happy with your colors apply a crackle medium. Cut in the edges and roll on the crackle finish.  FOr small cracks use a sponge for larger backs use a thick paint brush. Allow the crackle finish to dry (read the manufacturer's directions for drying time and any additional instructions or recommendations.)
  4. I normally use dark wax on my layered pieces it just gives even more depth in the corners and rough edges. 
Layered Chalk Paint

I wil have to look for more pictures of my layers pieces. 

More pics


This is what I love so much about chalk paint and painting furniture. you can create some amazing pieces.


  Visit Something to Chalk About Brooke Dowdy's profile on Pinterest.